Straight with landscapes.
When I first began in photography, 10 years ago, with a Canon 450D, at the age of 13, I really did think that’s it. I’m a professional now! But, my gullible self could not be any more wrong.
The angles were completely off, the editing was wrong, the focus was off in many, and as for focal range and positioning myself, they were just bog standard images that a child who’s just learnt how to take images on a phone could capture. Thankfully for me, my father was an amateur at the time and the first lesson I learnt was to get those images straight! Sometimes these rules can be broken, but in terms of taking landscape images and most animal images, it just looks messy if the image isn’t straight.
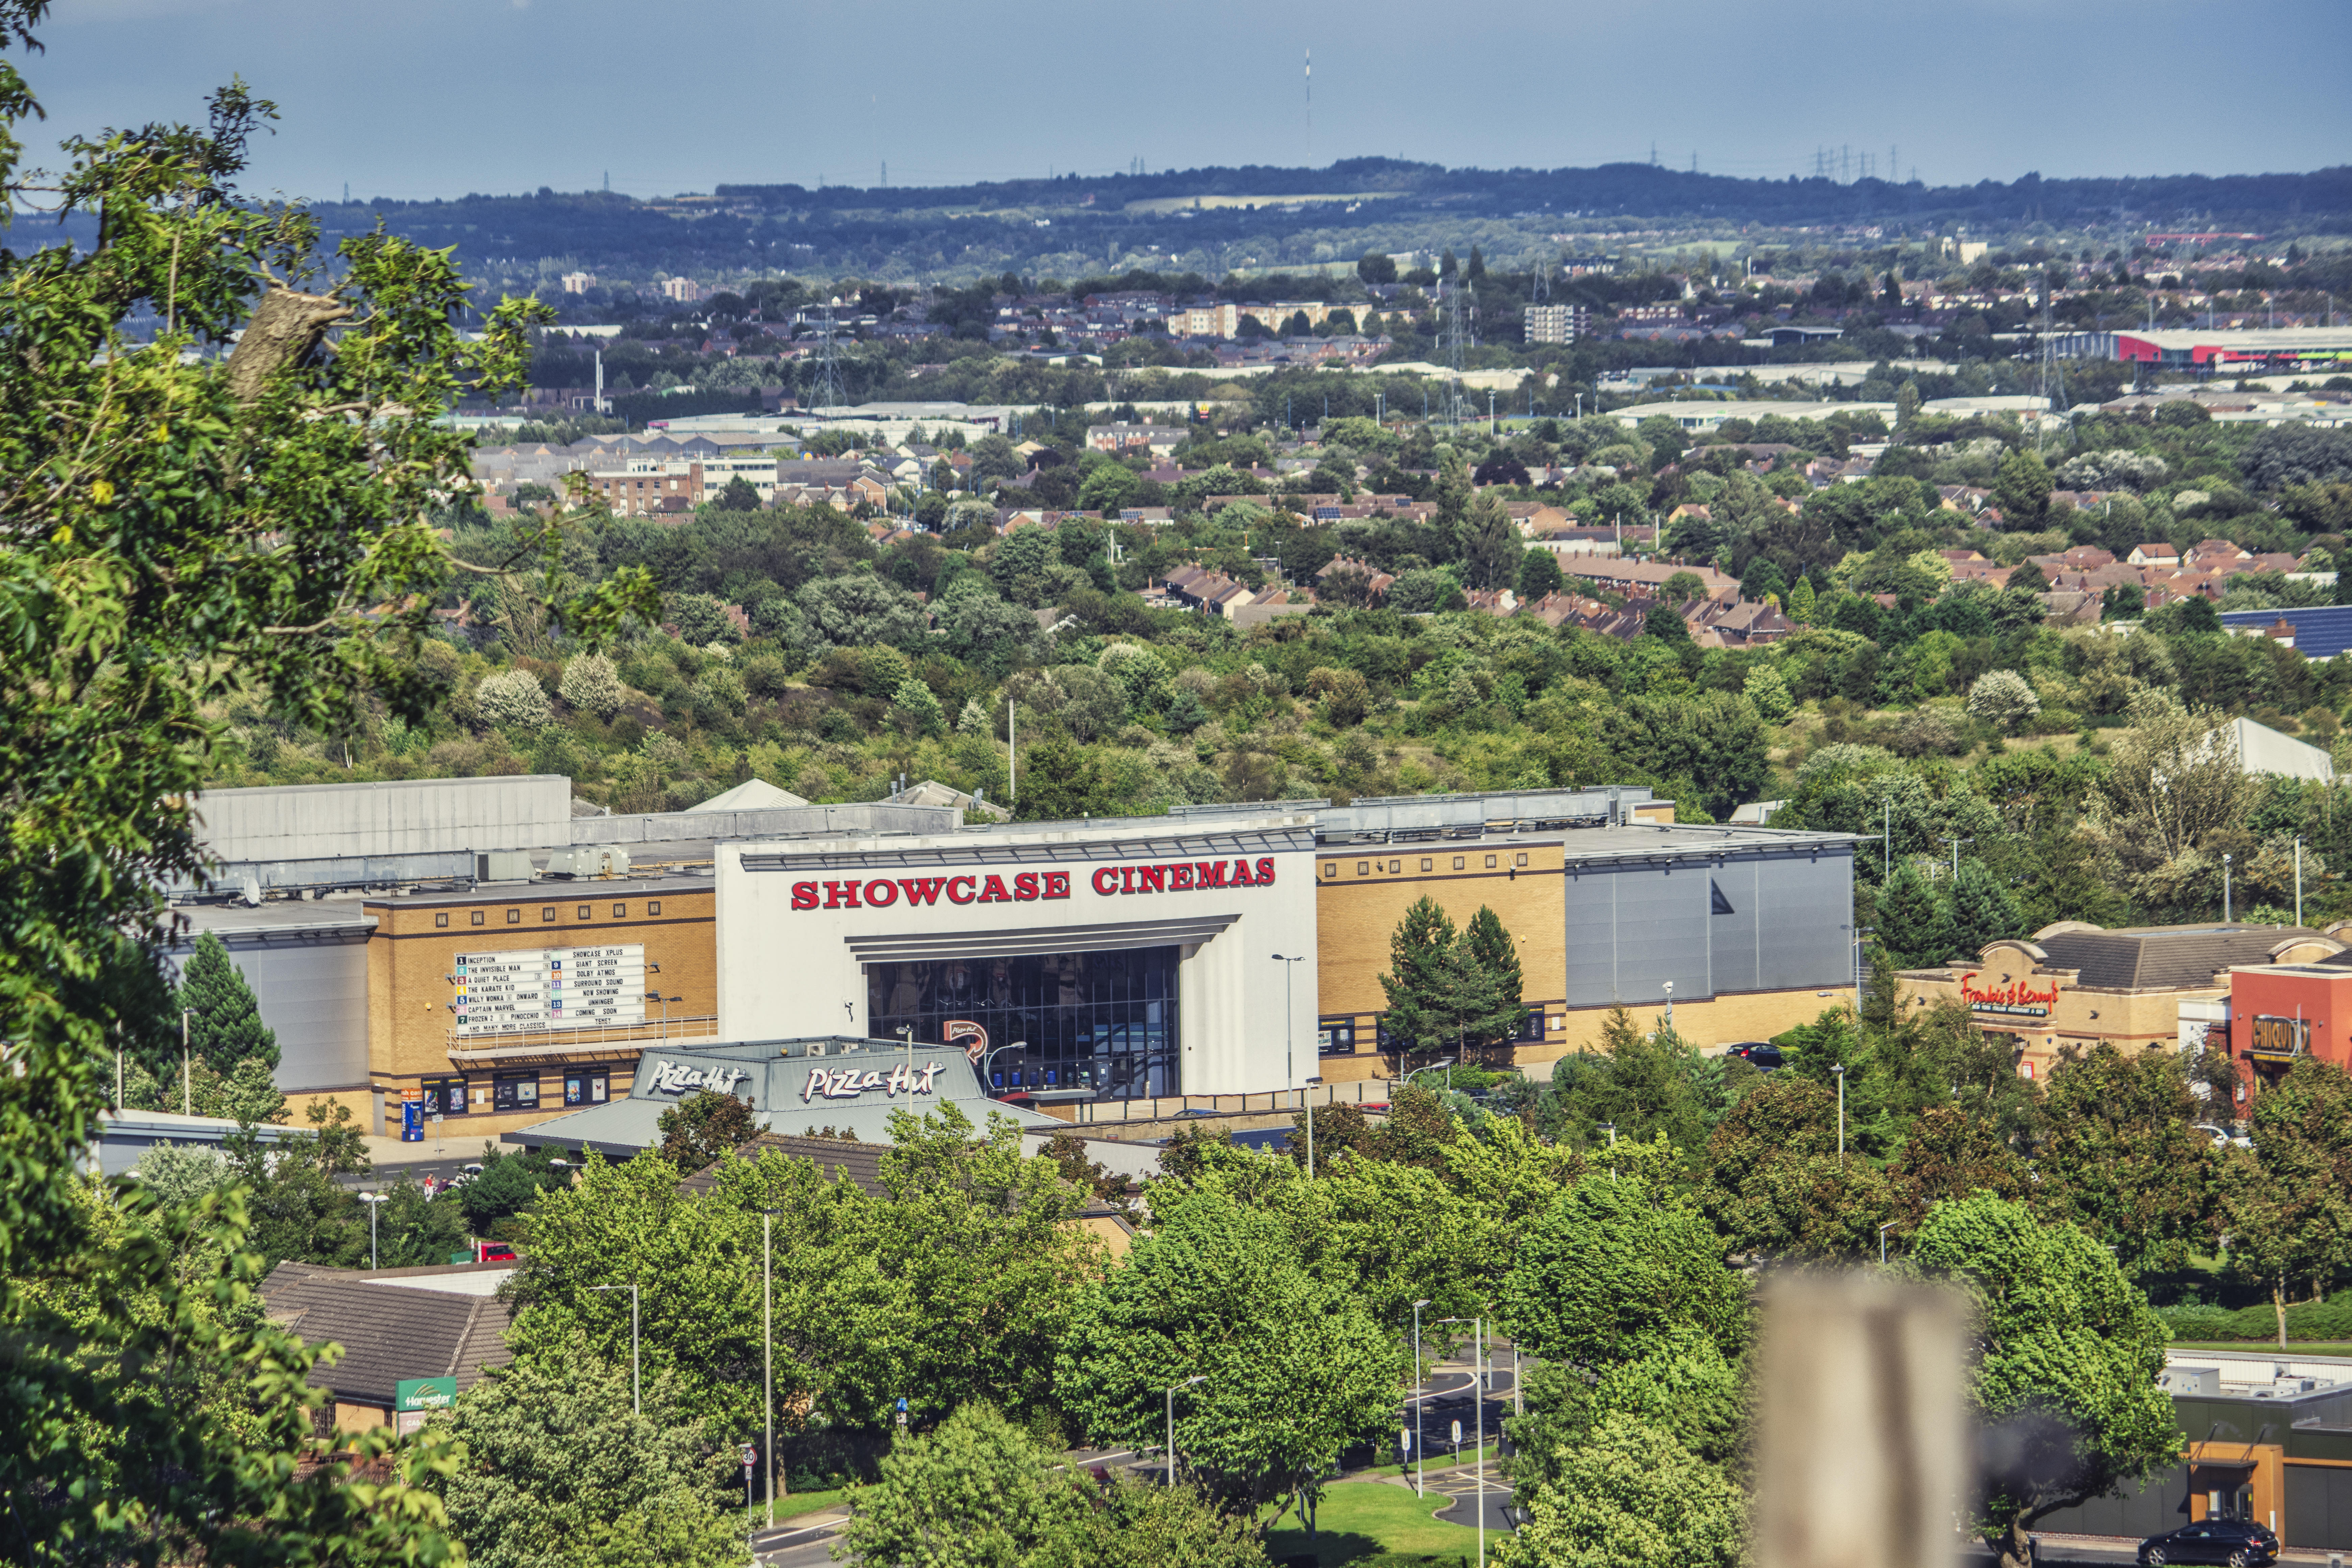
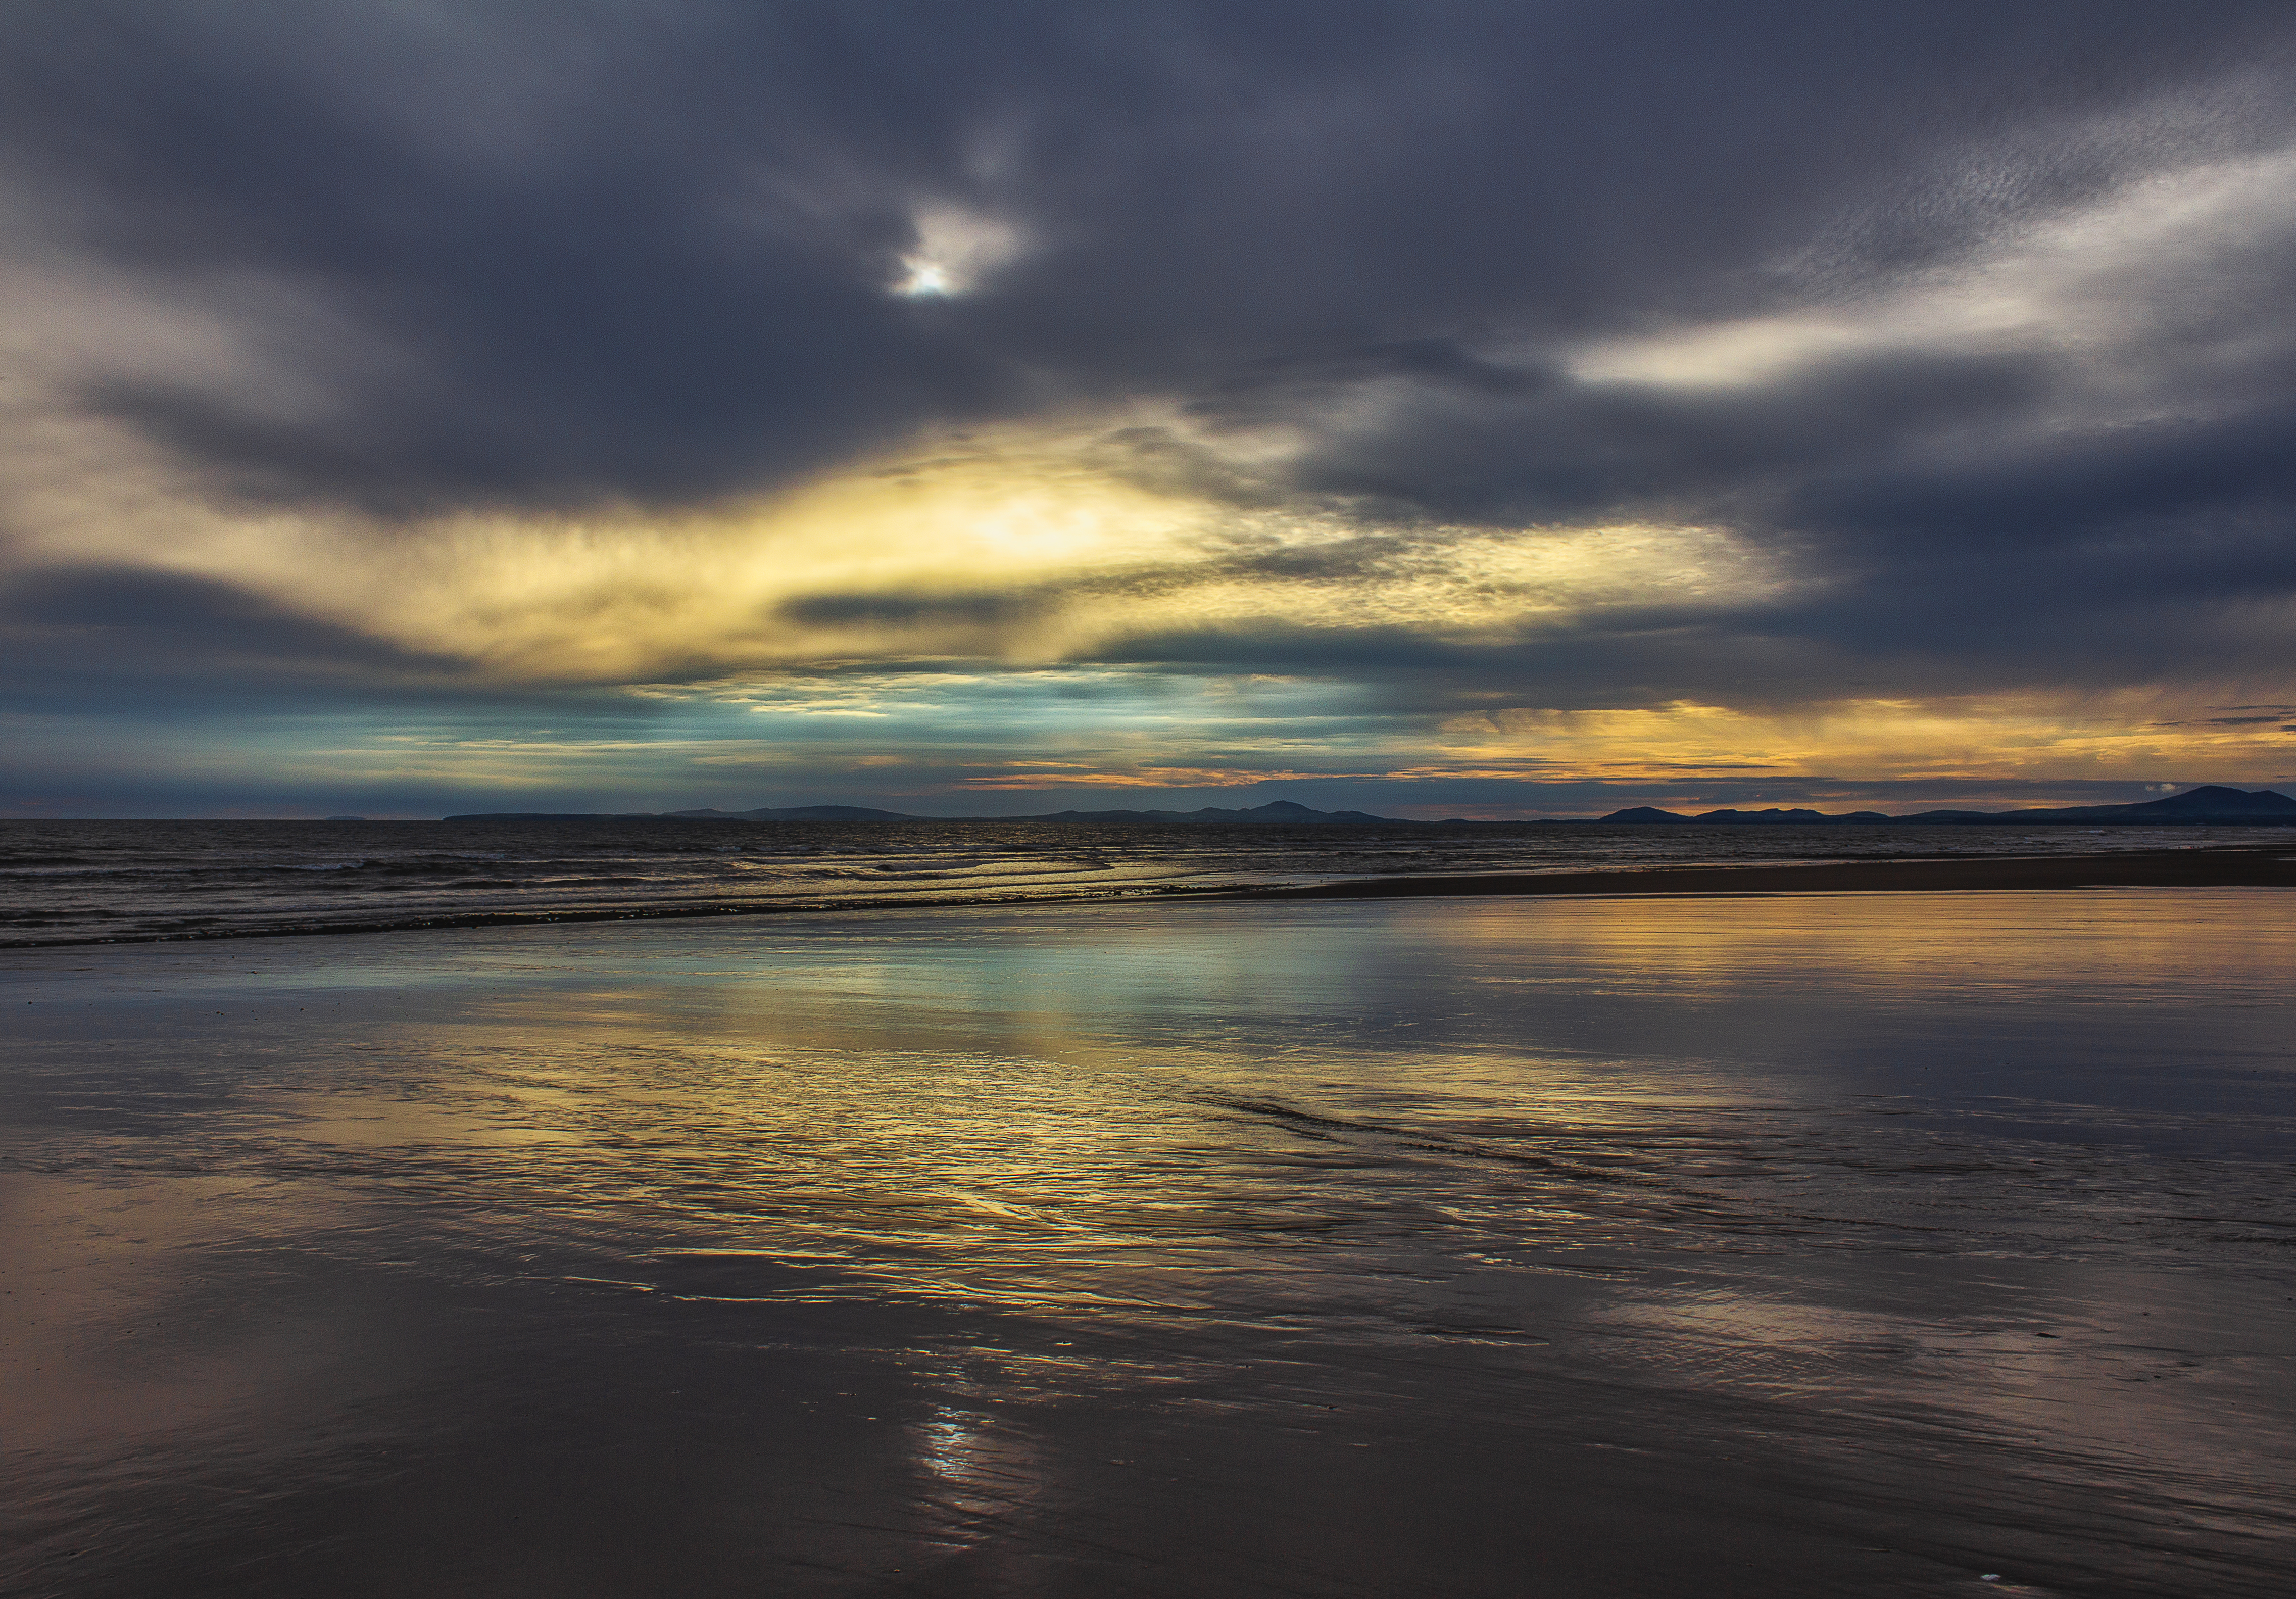
For this first blog, I’m going to show you some basics of correcting up an image that has been taken on an incorrect angle. I’m going to show you how to do this on a shot I took at Barmouth Beach 5 years ago with the Canon EOS 60D.
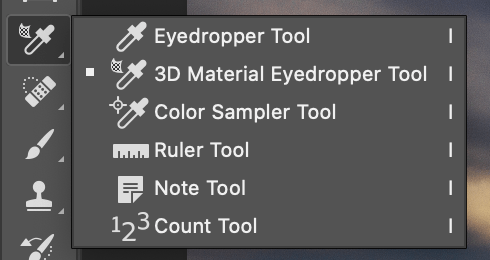
- The first way I will show you do is when an image is loaded, select the Ruler on the tab at the side and run the ruler across the page to where you want it to be straight, as below:

Once you have done this step, you will then need to select Image > Image Rotation > Arbitrary. This will then bring up a box that will automatically input the rotation that you want as what was selected by the ruler. This will automatically select how much degree the image needs to be rotated by and whether it would be clockwise or anti-clockwise.

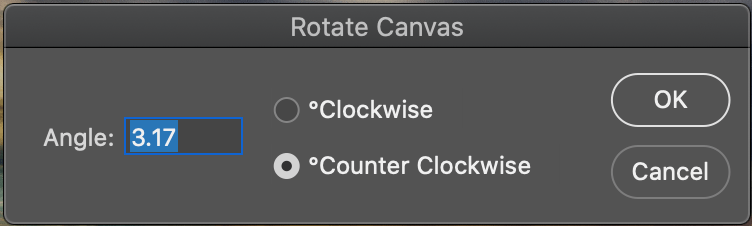
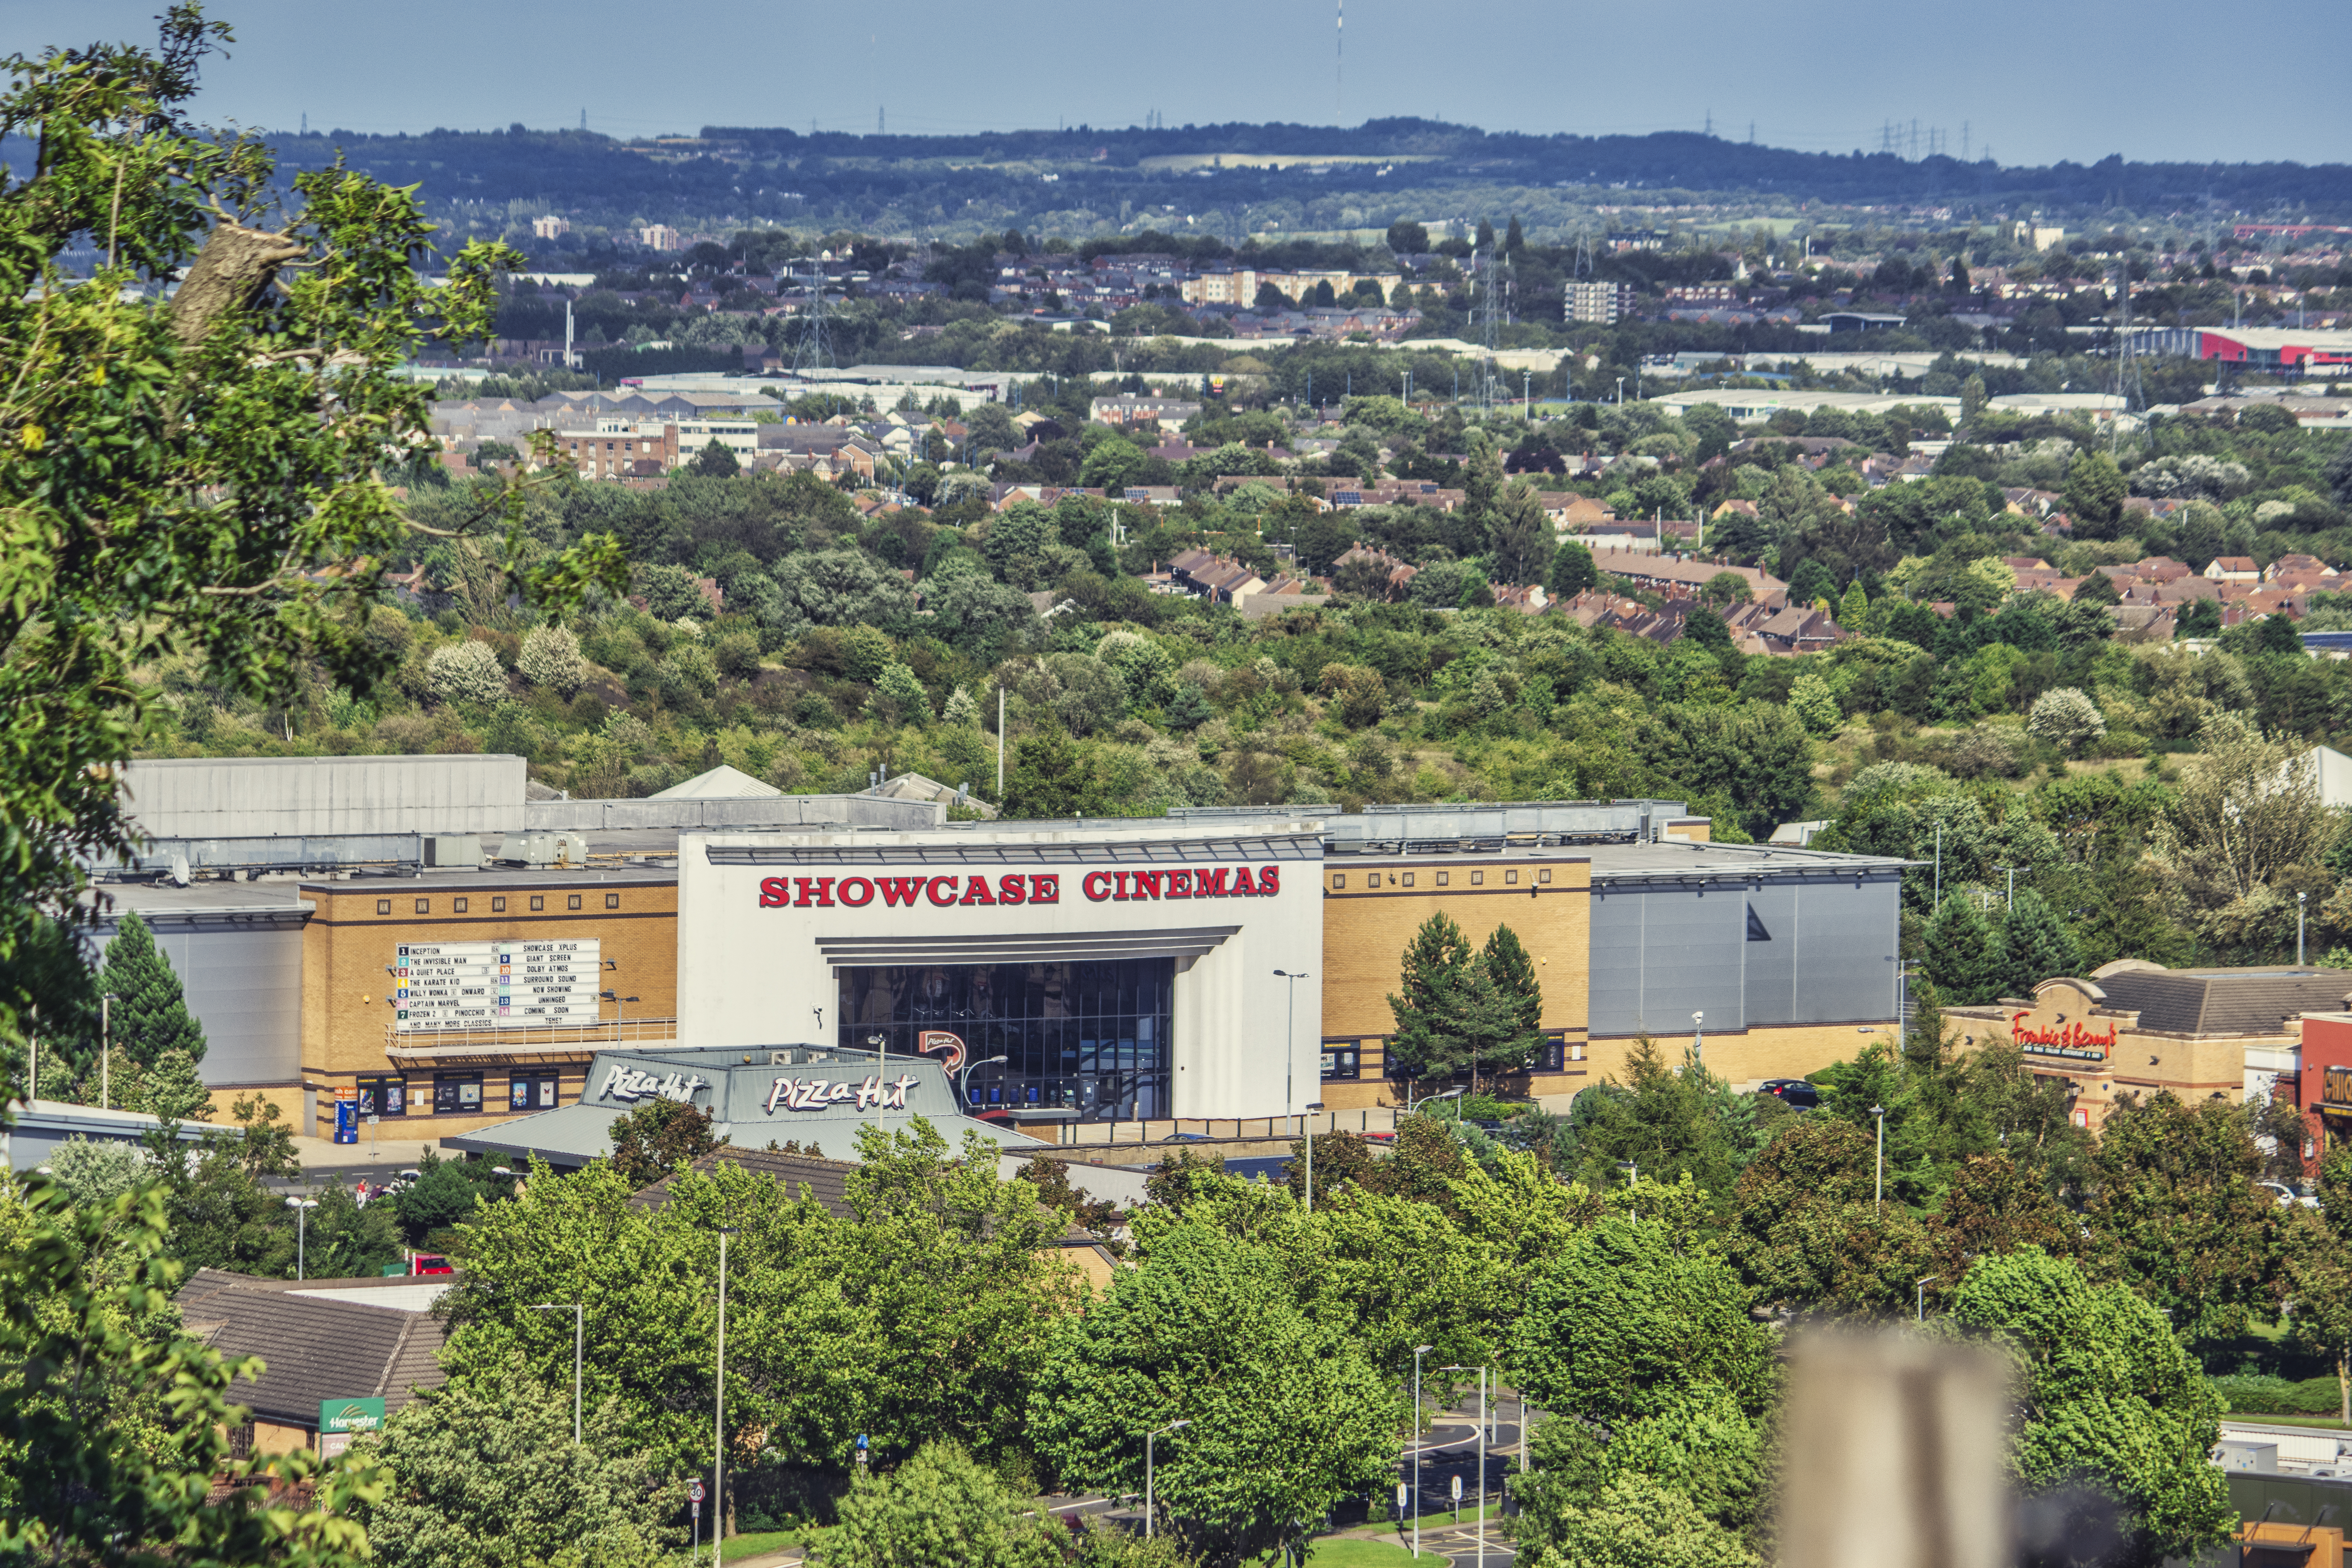
You do not need to change any values on this page. Providing you’re happy with it, just select OK, and then your image will automatically rotate and crop itself. Select the slider below to see the before and after:

2. Another way of straightening up an image is to use the crop tool in photoshop as shown, this is usually much quicker and is perfect if you have grid turned on as it will show you your guides. It is the one I used most often especially on shots with no actual lines to follow:

Once selected you should then get a grid with 9 boxes. If you click on this each box will then contain a further 24 boxes which once again help with lining your image. Just place your mouse around the boxes and move the curser left or right to the acquired angle, as shown.


Once you’re done you should then have an image that is correctly rotated. As you’re also on the crop tool, once you select off it, it crops it for you too. This is better also to help crop down the box to whatever size you want. Double whammy!